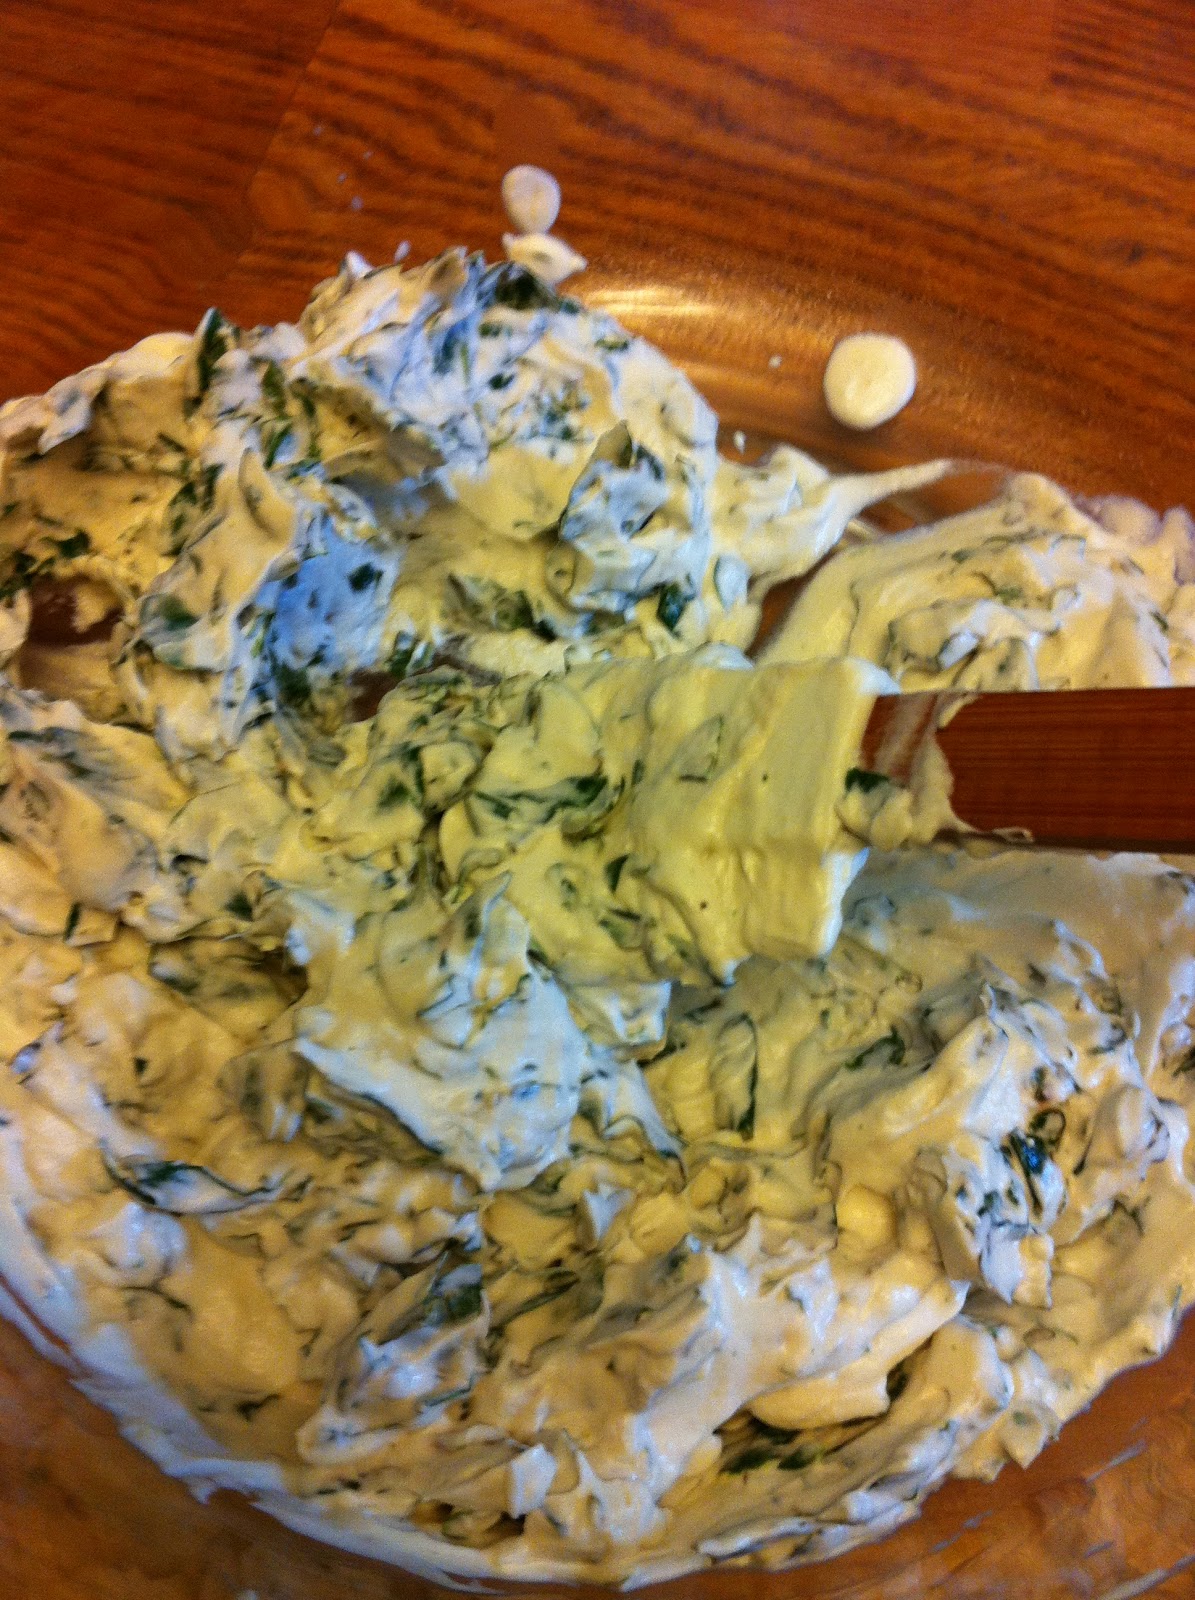
11 September 2011

Raspberry Dream Cups

A few weekends ago, when the weather was hot and sticky, I kept thinking of ice cream trucks with their Popsicles, Dreamsicles and Eskimo Pies. This recipe is a twist on nostalgia. Instead of the classic combination of orange sherbet and vanilla ice cream, I made a raspberry sherbet to pair with a very simple Philly-style (eggless) vanilla ice cream.

Raspberry Sherbet
  • 4 cups of fresh raspberries or 2 bags (total of 24 oz.) frozen raspberries, defrosted
  • 2 cups whole milk
  • 3/4 cup sugar
Put the ingredients in a blender and blend. Alternative, put everything in a deep bowl and use a hand blender to puree the berries and mix the ingredients. (At this stage, the concoction makes a wonderful beverage! Try a sip! ... Yum!)
Strain the mixture through a sieve to remove the seeds. I stained my mixture twice through a fine sieve, removed half a ton of seeds, and still ended up with some seeds in the sherbet. If you really really need to get rid of all the seeds, I would suggest using cheesecloth.

Freeze the mixture in your ice cream maker. When it reaches the soft-serve stage, pack it into another container and put it in the freezer while you make the vanilla ice cream.

Simple Vanilla Ice Cream
  • 1 cup whole milk
  • 3/4 cup sugar
  • pinch of salt
Heat the milk, sugar and salt together in a medium sauce pan over low heat.  When the sugar has dissolved, turn off the heat and pour the hot liquid into a mixing bowl. Add:
  • 2 cups heavy cream
  • 1 teaspoon real vanilla extract
Cover the bowl with plastic wrap and chill in the refrigerator for several hours. Then freeze in your ice cream maker.  At soft serve stage, put it in your freezer for at least one hour.

Raspberry Dream Cups

Using 8oz. plastic storage containers for your "cups," pack half of each cup with raspberry sherbet and the other half with vanilla ice cream. Place the cups in the freezer for at least 4 hours before serving.

The recipes above yielded enough sherbet and ice cream for 12 dream cups (plus extra servings of sherbet).

27 August 2011

Zucchini Bacon Tart

I've been cooking up summer veggies for the last two weeks, but it will take me a while to get all the recipes and images on the blog. I'll start today with zucchini, since we're all swimming in it.

This particular recipe is for all my baco-vegetarian friends out there.
What do you do with an over-abundance of zucchini, too few eggs in the fridge, and a lonely leftover piece of frozen puff pastry dough?

Here's what you'll need . . .
  • 1 sheet puff pastry dough, defrosted
  • 4 slices of meaty bacon
  • 2 medium zucchinis, grated
  • 1 teaspoon dried thyme
  • cracked black pepper, to taste (whatever that means)
  • 1 cup shredded mozzarella cheese
  • 4 eggs
  • 1/4 cup milk

Here's what to do . . .

Pre-heat your oven to 375 degrees Fahrenheit. Lightly grease a quiche pan or pie plate.

Unfold the puff pastry sheet and place it in the bottom of the quiche pan or pie plate. Yes, it is possible to put a square peg in a round hole. Just fold the corners down:
Cut the raw bacon strips into small pieces. Start frying the bacon in a cold pan over low heat, rendering out as much of the fat as possible. Cook until the pieces are very crisp.
When the bacon is done, turn off the heat and transfer the pieces to a paper towel. Remove most of the bacon fat from the frying pan, but don't clean it out yet.

Add the shredded zucchini and stir fry over medium low heat. Use the moisture in the zucchini to deglaze the pan; scrape the tiny bits of bacon from the bottom of the pan into the zucchini. Add the thyme and black pepper and continue to stir fry.
When the zucchini is dry and starts to stick to the pan, turn off the heat.

Allow the zucchini to cool down somewhat, then spread it over the puff pastry dough. Spread the shredded cheese over the zucchini. Spread the cooked bacon pieces over the cheese.
In a bowl, whisk together the eggs and milk. Pour the mixture evenly over the bacon. There will barely be enough liquid to cover and you may even need to use your (clean) fingers to press down on the contents of the pan to make sure the egg mixture coats everything.

Bake at 375 degrees until the top is browned. For me, this took about 40 minutes.
This dish turned out great. I ate the first piece hot with some cherry tomatoes for lunch. The rest, I packaged into sandwich bags for quick breakfast fare last week. It's like a quiche, but not so egg-y. It's also like a pizza, but more bacon-y. And the crust comes out delightfully flake-y.


13 August 2011

Deep Dark Chocolate Frozen Yogurt

Finding out that my new ice cream maker came with a second freezer bowl was a surprise. I decided to make a second frozen concoction (the first was Basil Ice Cream) but to try to make it from ingredients already in my kitchen.
Note that whole milk yogurt does not alway say 'whole milk' on the container. Check the label. If it says "milk" without a percentage of fat (0%, 1% and 2% are most common), it is whole milk.
By happenstance, I had a quart of plain whole milk yogurt in the fridge, originally intended for an Indian curry that I never made because of the heat wave. I didn't have enough frozen fruit on hand to make a fruited frozen yogurt (my favorite), but in the back of the fridge was a partially empty bag of semi-sweet chocolate chips left over from last December's holiday baking.
After consulting A Perfect Scoop, which does not have a recipe for chocolate frozen yogurt, I decided to hack together a recipe of my own, based on two other recipes in the book—Vanilla Frozen Yogurt and Chocolate Sorbet. Here's what I came up with:


1 quart plain whole milk yogurt
1/2 cup Dutch cocoa powder
1 cup sugar
1 cup semi-sweet chocolate pieces
1 tsp real vanilla extract
pinch of salt

Warm half of the yogurt over a double boiler. Stir in the cocoa powder and sugar and continue stirring until the sugar is dissolved. Next, add the chocolate pieces and stir until they are melted and incorporated into the yogurt-cocoa-sugar yogurt.
Remove the pan from the heat and stir in the remaining plain yogurt, the vanilla extract, and salt. Stir well.
Move the chocolate yogurt to a large bowl and cover well with plastic wrap. Place in the refrigerator for several hours, or until the mixture is good and cold.

Once the yogurt has been cooled well in the refrigerator, it will be the consistency of chocolate pudding. Freeze it in your ice cream maker. Once the frozen yogurt reaches soft serve stage, pack it into freezer containers and freeze for another hour or longer in the back of your freezer.
Putting the chocolate yogurt into the ice cream maker.
Delish!


Basil Ice Cream

Although I bought David Lebovitz's book, The Perfect Scoop, three years ago, it wasn't until this summer that I noticed his recipe for Basil Ice Cream. All I needed was a source of fresh basil, and I knew my friend Valentine's homegrown supply would be ready in August.

The most time-consuming part this recipe was the harvesting and trimming of the basil. My friend was very generous, so I ended up with enough for ice cream, some pesto for myself, and a cup or so of loose leaves for my housemates.
Removing the basil leaves from the stalks.
Once the basil leaves were ready, it was time to get cooking.

Ingredient List for 
David Lebovitz's Basil Ice Cream

  • 1 cup packed basil leaves
  • 3/4 cup sugar
  • 2 cups heavy cream
  • 1 cup whole milk
  • pinch of salt
  • 5 egg yolks
  • zest of 1 lemon. preferably unsprayed

I started out following the recipe by placing 1 cup of the cream, the sugar, and the basil leaves in my food processor. Within a few minutes, however, I knew there was a problem. It wasn't the fault of the recipe, but the fault of my bargain basement, dollar store, lame-ass food processor. Instead of grinding and chopping up the basil leaves, all it did was bruise the leaves and whip the cream to stiff peaks.
Bruised basil leaves in whipped cream. Not good.
I stood there a moment, trying to figure out how to salvage the mess. Basically, I had derailed the recipe at step one. If I tried to process the mixture any more, I was afraid I'd turn the whipped cream into butter. Picking the basil leaves out of the whipped cream and chopping the, by hand was impractical at this point, not to mention messy.

Making a leap of faith, I decided to move all of the whipped cream stuff to a bowl and continue with the recipe as best I could. Later, at the end of the mixing, I would use the hand wand mixer to--hopefully--grind up those leaves. If it didn't work, people would just have to chew their ice cream.

After I scraped the bowl of the food processor clean, I decided to ditch the lame-ass food processor. I dumped the entire machine and all of its attachments into the garbage. This was the last time I (or anyone else) was going to be fooled into thinking it was a real a food processor. It was not. A mortar and pestle would do a better job.

The next step was to make a light custard out of the remaining cream, milk and eggs. In a heavy-bottomed pan, I heated a cup of cream and a cup of milk over low heat.
In a separate bowl, I whipped the egg yolks with a whisk. When the cream and milk mixture was hot but not boiling, I turned off the heat and drizzled about a quarter cup of the hot liquid into the eggs and whisked them well. Then I added another quarter cup of hot liquid and whisked again.

Once the eggs were tempered, I poured all of the egg mixture back into the pan, whisking as I did, then turned the heat to low. Whisking constantly, I watched to make sure the mixture did not boil. The mixture was done when it thickened into a light custard, lightly coating the back of a metal spoon.

The next step is to pour the custard through a sieve to remove any bit of cooked egg white or other chunky debris left behind by the cooking of the custard. I did this over the basil and whipped cream concoction.

Next, I added the salt and the zest of the lemon and got out the hand wand.
The hand mixer did a beautiful job grinding the basil leaves into the liquid. Within a few minutes, I was covering the bowl with plastic wrap and putting it into the refrigerator to chill down for half a day.

Later in the evening, I got out my new ice cream maker and turned the basil custard into basil ice cream. At the dense soft serve stage, I moved the ice cream into a plastic container and popped it into the deep freeze overnight.

Basil ice cream is a surprise. It doesn't taste like pesto. Imagine mint ice cream, but without the intense palate punch that mint delivers. Basil ice cream is sweet, green-tasting and earthy, with the barest edge of mint.

How can I describe it?

Imagine a summer day. Full sunshine. Blue sky. A cooling breeze. Imagine that you could put a spoonful of the perfect summer day in your mouth.


Buying An Ice Cream Maker

basil ice cream
Big Pink

When I completed graduate school in the spring of 2008 at the tender age of 50, I decided to go back to basics and get myself an ice cream maker. However, as soon as I started shopping, I went into sticker shock. I wanted something automated, not the hand-cranked kind, but all the electric ice cream makers were well out of my price range at that time.

Then I hit on a brilliant idea: eBay! Dozens and dozens of gently used electric ice cream makers were being auctioned off that summer. I put in an opening bid of $5 (with a top bid limited to $20), crossed my fingers . . . and lost.

And lost.

I continued to lose every auction I entered. Used ice cream makers were going for almost as much as new ice cream makers that summer. After a while, I gave up on the idea of owning an ice cream maker any time soon.
deep dark chocolate frozen yogurt
In July 2008, I decided to try one more time. I found an eBay ad for a 2-quart Rival ice cream maker. The seller did not include a photo in the listing. The starting bid was $15, but included free shipping.

I sent the seller a message asking why he did not include a photo, since he included photos for all his other auctions. His response was "It's ugly," then he expounded on the machine's other qualities.

I was intrigued and placed the minimum bid -- $15, with free shipping. And I WON!!! (Of course, I was the only bidder.) The seller thanked me by email for buying it.

As I pulled my new ice cream maker out of the box, I understood why the seller didn't bother with a photo. The thing was big and (mostly) puke pink. The puke pink of the outer bucket clashed with the equally obnoxious cartoon pink of the machine's decals. My only photo of Big Pink does not do the pukiness of its color scheme justice:
WARNING: The item in this photo is uglier than it appears.
After I stopped laughing, I went to work making a lovely banana ice cream, the kind my family made when I was a kid. It was exciting! I was returning to my roots! (Kind of.)

I mixed together milk, cream, sugar, mashed bananas, real vanilla extract, a dash of fresh shaved nutmeg, and poured the concoction into the ice cream maker's inner container. Following directions I'd found online (the machine did not come with an owner's manual), I packed crushed ice with layers of rock salt into the outer chamber, attached the turning motor, turned it on . . .

. . . and was nearly knocked on my butt by the din. My new ice cream maker sounded like a cross between a car with no muffler and a table saw slicing through an endless length of 3/4-inch plywood. The next hour and fifteen minutes was a nightmare of noise that forced me and the dogs out of the house, into the back yard.

Big Pink--true to the seller's word--did an excellent job freezing my banana cream mixture into a dense soft serve. After the second bite, I forgave the ice cream maker all its faults and made the decision that, from now on, all ice cream making would take place in the basement. I set aside a bowl of deliciousness to eat right away and packed the rest into containers for the freezer.

I made three or four more flavors of ice cream that summer and early fall, sharing it with friends. However, later in the fall, housemates moved in upstairs. They tried, but even with the ice cream maker in the farthest recesses of the basement, they reported that the sound was obnoxious and went on too long. Thus ended my ice cream making for a time.

Flash forward now to last month, July 2011, when I decided to make ice cream at my friends' house. I brought ingredients and Big Pink to their kitchen and set about making Sherry Shake Ice Cream. I didn't think there would be a problem. It was summer time and we were barbecuing; everyone and their dogs were outside at some distance from the kitchen.

But I was wrong. As soon as I turned it on, people started to complain. Our dessert that day turned out great and took only an hour to churn, but I knew that the time had come to say goodbye to Big Pink.

Little Red

Since 2008, my financial situation has improved, so this time I went looking for a newer model ice cream maker. I wanted the kind where you pre-freeze the inner container before you start. Besides the noise, I wanted to avoid the whole crushed-ice-rock-salt mess. And I wanted the whole process to take less time. Feeling flush, I figured I could spend $50 to $60, maybe $75 at the most.

Once again, sticker shock beat me down. My best bet for a 2-quart maker was $145. A 1 1/2 quart maker ran $90. Smaller models seemed hardly worth the effort, since I tend to share what I make with 8 to 10 other people. Although I could probably "spurge" after fall semester begins and I start getting paid again for my second job, the idea of paying $145 for a single-purpose machine was ridiculous; I knew I'd never do it. I put the 2-quart ice cream maker on my wish list, groused about the rising cost of kitchen gadgets, and forgot about it.

But something happened to the ice cream maker market at the end of July. Prices started coming down. Amazon notified me that items on my wish list had dropped in price. And, then, one fateful payday Friday, I discovered that the 1 1/2 quart Cuisinart ice cream maker had dropped to under $45, with free shipping, and that it came in a lovely shade of chili pepper red.

When the box arrived, I had another pleasant surprise. Little Red came with a 2nd freezer bowl (once a $40 value, now a $25 value), so that it is now possible for me to make 2 different flavors and up to 3 quarts of ice cream in one day!
I had to rinse out, dry, and wrap the two freezer bowls in plastic and put them in the coldest part of my deep freezer for 24 hours. But the next day, as soon as I could, I set about making ice cream. My first two flavors were Basil Ice Cream and Deep Dark Chocolate Frozen Yogurt, which I will detail in my next two blog entries.
Little Red Ice Cream Maker
Little Red is extraordinarily easy to use and clean. Once you have your ingredients ready, just pour the liquid into the freezer bowl, put the clear plastic cover on, and turn the machine on. There's an opening at the top where you can add chocolate chips, drizzle in caramel, or whatever, towards the end of the churn. I love it.

It's far less noisy than a blender. My dogs, in fact, didn't seem to care or notice when I turned it on. And, boy, is it FAST! Only 25 minutes to soft serve! Let the ice cream making begin!


06 August 2011

Mead Day 2011: A Rhymster's Share of Mulled Apple Cyser

When I think of mead, I think of the Dark Ages, Beowulf and Grendal, and that gruesome tale from Norse mythology, in which two evil dwarves lure a hero into their home, murder him, drain him of all his blood, and add honey. These were sick dudes!

The resultant liquor, however, was The Mead of Poetry, a magical drink that allows anyone who partakes of it to became a true poet and to know things other mortals don't. Unfortunately, The Mead of Poetry is a highly controlled substance. Only the gods can mete it out. For those of us who are not permitted to partake of The Mead of Poetry, the highest position we can hope for in the literary world is that of "rhymster." (Which has always made me think that this entire story has to be the invention of a poet, an arrogant, self-important poet who wanted to bad-mouth his competition. What a jerk!)

Anyway . . . this rhymster is in the mood for some honey brew, preferably a brew that does not involve human blood.

Yesterday (August 6, 2011) was Mead Day, according to the American Homebrewers Association. It seemed as good a day as any to return to homebrewing, something I haven't done since 2003. For a short time (2000 - 2002), when I was still living in Washington state, I was brew mistress of a local homebrew club. We brewed novelty ales almost exclusively, but shortly before my move to Ohio, I started to investigate homebrews that required more time and commitment, like wine and mead.

31 July 2011

Mushrooms on My Toast (an easy meal for one)

Weekend brunch -- mushrooms on toasted English muffin with fresh fruit on the side.
This is a quick and easy entree any time of day. For breakfast, pair it with fresh fruit. Add a green salad for lunch or dinner.
  • 1 tablespoon butter (or olive oil)
  • 1 clove of garlic, finely minced or crushed
  • 4 to 6 oz. mushrooms, cleaned and sliced (for this demonstration, I used a prepackaged mix of shiitake, baby portabello and oyster mushrooms)
  • salt and black pepper
  • pinch of dried thyme leaves (optional)
  • 4-5 basil leaves, cut into fine strips (optional)
  • 1 English muffin or 2 slices of your favorite bread choice, toasted
In a small frying pan, melt the butter over low heat. Add the garlic, mushrooms, salt, pepper and thyme and cover the pan with a lid. As the mushrooms heat up, they will shed liquid. Steam the mushrooms in their own juices for 3 to 4 minutes. Uncover the pan and allow the liquid to reduce by half. Turn off the heat and add the fresh herbs (if using), and stirring well. Serve over toasted English muffin or slices of toasted French bread. Serves 1.

Every time I make this, I am amazed by how deliciously satisfying mushrooms can be. This recipe can be adapted easily to other fresh herbs and dried spices. Experiment! I've used Herbes de Provence and blackening spices with equally great results. One time, I sauteed sliced leeks with the mushrooms--wonderful!

And if you're looking for something more sinful, try adding a splash of dry sherry at the beginning of cooking and finish it off at the end with a drizzle of heavy cream.

Sex on toast.

30 July 2011

Influencing Local Availability

I do most of my grocery shopping--in a 2-hour round of several stores and occasional vegetable stands--on Saturdays. For the last three weeks or so, I've included the Boardman Giant Eagle on my route. The store has rewarded me with 2 or 3 packets of fresh lemongrass each week from their  (over-packaged, over-priced) fresh herbs section for $ 3.99/pkg.

Lemongrass is a key ingredient in southeast Asian cooking, including some of the dishes I've cooked for this blog, like beef rendang and lamb curry. By my calculation, these packages of lemongrass put the price of it at a relatively low 25 cents per inch. Most of the recipes I use require anywhere from 12 inches to 24 inches of lemongrass per recipe.

After last year's scarcity of lemongrass, including the impossibility of getting any before my birthday last February, I've been buying and freezing every package I can get my hands on. Lemongrass is readily available in the Cleveland area, but here in the Youngstown area, lemongrass is worth its weight in gold.

And I mean that literally. Last year, after talking the produce manager at the same Giant Eagle into ordering lemongrass last year, I was faced with a bill for lemongrass that broke down to approximately $1.50 per inch! We argued, and he showed me the invoice. I ended up paying more like $1 an inch for that transaction, and Giant Eagle made no profit, but... suffice it to say, I felt ripped off, even if it was the market price at the time. It just didn't seem right to pay less for the meat in the dish I was cooking than for just one of the herbs!

My lemongrass interaction with Giant Eagle last year, however, impacted the local market. The brand name on the packages of lemongrass is completely different from the brand name on the packages of other herbs. The new packages contain three times as much lemongrass as last year's packages. Plus, because I've been buying two or three packages a week, today I noticed that Giant Eagle has started to stock 6 packages!

In other words, my friends, now there's enough lemongrass in Boardman for me and for you, too!

24 July 2011

Nothing-Raw-Except-The-Veggies Sushi

Nothing-Raw-Except-The-Veggies Sushie (top of the plate and moving clockwise): Sweet Bacon Roll, Octopus Roll, dab of wasabi, Youngstown Roll (prototype), Teriyaki Chicken Roll, Spicy Tuna Salad Roll

I did a lot of prep yesterday, so I when walked into my kitchen this morning, I felt confident that my plan for the day's portable cooool meal was under control, "a walk in the park," so to speak. I had only three things to cook that morning: 1) a simple omelet, 2) some bacon and 3) the sushi rice. Not problem. I poured myself a tall glass of iced coffee with a splash of half and half and headed out to backyard with the dogs.

It was significantly cooler outdoors at 6:00 am--cloudy with the threat of rain. But I didn't think much about it as I sipped my coffee and enjoyed the dogs' company. It was after we came back inside that I realized I might have a problem....

23 July 2011

Prepping for Nothing-Raw Sushi

I didn't think through just how much prep there is for nothing-raw sushi. Spent three hours prepping and I haven't even made the rice yet!
Frying hot Italian peppers with garlic in olive oil

17 July 2011

Greek Lemon Chicken

Oven roasted Greek lemon chicken thighs.
This dish first came into my life when we lived in Aldine, near Houston, Texas. Our next door neighbors were Greek. Or, rather, the mom was Greek, born and raised on a small island in the Mediterranean sea. She did not speak English, and she was one of the best cooks I have ever met, before or since.

The dad was of 100% Greek descent, and--without any negative intent or disrespect intended--he was also an all-American redneck. He hated immigrants, people who did not speak English, “colored” people, liberated women, and liberal politics in general. He owned guns in that very special way that some Texans own guns. Nonetheless, when he came of marriageable age, he followed the family tradition of traveling “back” to Greece to court and marry a “spinster,” a woman who had--for whatever reason--failed to marry before her 25th birthday.

14 July 2011

Sherry Shake Herb Ice Cream

Many online herb cooking sites either ignore ice cream as a venue or offer recipes that do not take full advantage of heavy cream's ability to capture the essential oils, flavor points, and other key characteristic of fresh and dried herbs. As I was doing research for this recipe, I ended up turning back to a book that I purchased three summers ago: The Perfect Scoop, by David Lebovitz.
The book includes a number of excellent recipes for ice creams made from mint, basil, parsley (yes! parsley ice cream!), lavender, as well as other exotics, such as black pepper, ginger root, hot chili peppers, and Japanese green tea. The basic method he uses to claim flavor from herbs and spices is to heat up the cream (and, sometimes, part of the milk) to a very low simmer, then adding LOTS of the fresh or dried herb, simmering for a few minutes, then turning off the heat and letting the essential oils from whatever herb he's using to leach into the cream. After an hour or so, the pot of herb-infused cream is cool enough to handle, and you can squeeze or strain out the used herb (sending it posthaste to your compost pile).

Here's my adapted generic recipe, which makes about 1 1/2 quarts:
  • 1 1/2 cups of heavy cream
  • Up to 1.5 oz. fresh or dried herb (1 to 2 well-packed cups of fresh leaves, for example, if you are using something like mint or basil)
  • 1 large (or 2 small) vanilla beans, split lengthwise (or substitute with 2 tsp. high-quality vanilla extract)
  • 1 1/2 cups sugar
  • big pinch of salt
  • 4 cups of half-and-half (Lebovitz uses more cream in most of his recipes)
  • 1/3 cup good quality dry sherry
  • 1 teaspoon vanilla extract
In a heavy-bottomed pan, heat the cream plus one cup of the half-and-half, the vanilla beans and whatever herb you are using. Simmer for three to four minutes. Put a tight lid on the pan and turn off the heat. Allow the mixture to sit on the stove untouched for 1 hour.

Strain the cream into a bowl, squeezing out the herb to collect as much of the infused cream as possible. Discard the used herb. Add sugar and salt to the infused cream and stir until they are fully dissolved. Cool the cream to room temperature in the fridge (or freezer, but don't forget about it because you don't want to to freeze quite yet).

When the infused cream has cooled, put it, the remain half-and-half, and dry sherry into the freezing container of your ice-cream maker. Freeze the ice cream following your ice cream maker's directions.
Homemade Sherry Shake h'Ice Cream with Fresh Blueberries.

12 July 2011

Fake Meat on A Stick: Chinese BBQ'd Tofu

When I was a kid in southeast Asia, I loved tofu. In America, however, I am not a fan. The tofu here is 'silky' and soft, with no texture. Though even silky tofu can take on a wide range of tasty flavors, the texture always puts me off.

A few months ago I was researching grilled tofu recipes for a friend who likes tofu when I ran across a number of websites that recommended freezing your tofu, then defrosting it, to change its texture. I gave the technique a try and was pleasantly surprised by the toothsomeness of the final product.

Here's what you do:
1.  Take the tofu out of its original container. Discard the liquid and the packaging.
2. Cut the block of tofu in half or into slices.
3. Wrap the pieces well in plastic wrap and freeze over night or until you want to use it.
4. Defrost the tofu at room temperature.
5. At this point, you will notice that the tofu is no longer silky but has developed a spongy texture. Gently squeeze all remaining water/liquid out of the tofu sponge.
Defrosted tofu 'sponge'
Squeezing out the liquid
Liquid is removed. This tofu is ready to use.
Chinese BBQ'd Tofu

This is a very easy recipe.

All you need to do is cube your frozen-then-defrosted tofu, slather it in your favorite brand of prepared hoisin sauce, and allow it to marinate for thirty minutes to several hours (but probably not over night). When you're ready to grill, thread the tofu cubes onto water-soaked bamboo skewers, interspersing them with vegetables (onion, red bell peppers, or whatever), if you like.
Tofu cubes
This is the hoisin sauce I used for this recipe, but any brand will do. If the hoisin is especially thick, you may need to thin it a bit with water before using.
Tofu cubes hanging out in hoisin sauce.
Marinated tofu and raw veggies on soaked bamboo sticks waiting for the grill.

Grill the tofu on a very hot grill. Do not fuss with these while they are grilling, or you will risk breaking up the tofu and losing it through the grill. I turned these only a few times, every 3 or 4 minutes.
Chinese BBQ'd Tofu on a bed of grilled asparagus.
I love this dish! In my not-so-humble opinion, it was the best meat-on-a-stick of the day!