29 June 2011

From the Barkery: Sweet Potato Pupsicles

A few summers ago, my dogs and I were on a play date with some other canine friends when their human introduced us to some yogurt-based pupsicles—popsicles for dogs. She had bought them at the grocery store. My dogs loved them, so I decided to start making them at home.
This recipe uses one of my dogs' favorite vegetables--the sweet potato (sometimes known as "yam"). Let's not argue about the differences (if any) between a “sweet potato” and a “yam,” let's just make our furry pals happy!

Ingredients:
  • 2 medium large yams
  • 1 quart plain low-fat yogurt
Get cooking!
Bake the yams at 350 F for 1 to 1 ½ hours, or until they are very soft. Allow them to cool. Then remove and discard the skins.
Blend together the cooked sweet potatoes and yogurt at high speed until well-incorporated.
Spoon the batter into ice cube trays and freeze.

Makes about 3 trays of (42 individual) dog treats that are also suitable for human consumption (and surprisingly delicious, even with no added salt or sugar, as I can report from personal experience). I usually ask my dogs eat them outside on the cement patio because of the mess. If you decide to let your dogs eat these in the kitchen, be assured that they will lick the floor clean!

26 June 2011

Lapin à la Moutarde (Rabbit in Mustard Cream Sauce)

Rabbit hind quarter in mustard sauce.
For a short time during the mid-'70s, when I was attending Northern Illinois University, I was unattached and loving it. I would take myself on extended day trips into Chicago for museum crawls, ethnic festivals, often followed by a light dinner at The Berghoff (cheap eats in the late 1970's: escargot, a basket of bread, a glass of white wine, and a generous tip for the cute waiter in the bow tie = $5). I spoiled myself regularly. 

I had a fantasy (which eventually came true) that I would fall in love with a man as interested in art and music and film and literature and travel and international cuisine as I was. In pursuit of that dream, I would, from time to time, invite someone with potential to join me in the windy city. 

The following recipe is a recreation of a dish that I had at a French bistro-style restaurant in Chicago in 1977. I don't remember the name of the restaurant or the name of my date that night, but I do remember that it was a very long and interesting day. We'd started at the Field Museum, spent considerable time wandering through the Art Institute, and ended up at a foreign film festival. We saw three movies, including the 1960's French film Shoot the Piano Player, which I enjoyed immensely for its absurdities, its stylized violence, and its send-up of Hollywood mobster films. For a few hours, I thought I'd found my kindred spirit.

Thirty seconds after the waiter handed us our menus, however, my date's mask slid off. "This menu is in a foreign language!" he snarled. "Oh, for God's sake! Look at these prices!"

I stared back at him, dumb-founded. "Don't worry about the prices. My treat."

"But how can I order when I can't even read the menu!" he said.

Clearly, he one was not The One. I steered him toward the bifsteak (steak) and pommes frites (fried potatoes).

I order rabbit, for the first time . . . and fell in love!


Ingredients
  • 1 rabbit (2 to 2 1⁄2 lbs.), cut into 6 to 8 pieces
  • salt and black pepper
  • 3 slices of good quality bacon, cut into small pieces
  • 1 medium onion, diced
  • 2 cloves of garlic, crushed
  • 1 bay leaf
  • 1 tsp. dried thyme leaves
  • 1 tablespoon whole mustard seeds
  • 2 cups chicken broth
  • 1 cup crème fraîche
  • 1/2 cup dijon mustard
Get Cooking!

1.  Salt and pepper the rabbit pieces.
2.  Starting with a cold pan, fry the bacon pieces over low heat, rendering out the fat.
3.  Turn the heat to medium and brown the rabbit pieces in the bacon fat.
     
    4.  Toss in the diced onion and crushed garlic, the bay leaf, thyme and mustard seeds. Move the rabbit pieces around in the pan so that the onion is at the bottom. Continue to cook until the onion is translucent.
    5.  Deglaze with chicken stock and bring the pot back up to a boil. Lower the heat to low, put a lid on the pan and slow simmer for 1 to 1 1/4 hours. 
    6.  Remove the lid, increase the heat, and boil until the liquid in the pan is reduced by half.
    7. Add the crème fraîche and dijon mustard and stir. Heat through.
    8. Oooo-la-la!! Serve over boiled potatoes or pasta.
    Oops! I forgot to take a picture of the whole plate. Here's the remnants of the rabbit, extra sauce on my remaining garlic smashed potatoes, and steamed green beans and mushrooms on the side.
     Serves 4 and freezes well.

19 June 2011

Malaysian-style Beef Rendang Made for No Particular Reason Except That I Wanted Some

I made my favorite food on the planet--beef rendang--a few weeks ago. It's been four or more years since I last made it. It's very rich, so I usually reserve it for special occasions, like someone else's birthday or a New Year's Eve party with friends. Lately, however, I've come to the realization that waiting for rendang is probably not a wise use of the time I have remaining on Earth. Life is short. Time is running out. Seize the day! Make the rendang! 

There are a million different recipes for rendang, the celebrated Southeast Asian feast food made from meat braised in coconut milk and spices. It amazes me how varied the recipes are and how different the final dish can look--from soupy/sauce-y and bright red to bone dry (a kind of dish known as a "dry curry") and nearly black. Some cooks don't use lemongrass at all; others omit the ground spices and just heap on the lemongrass and kaffir lime leaves. Some use a fiery blend of raw and dried chillies; others offer only the tiniest background prick of capsicum heat.

Chicken appears in a number of the online recipes, though I have never tasted chicken rendang and can't imagine chicken meat standing up to the long cooking time. (Maybe a stewing hen would work, but they aren't readily available at most American groceries.) I have tasted lamb rendang and enjoyed it, but for me, rendang means beef or water buffalo . . . or cow.
Rendang served with plain basmati rice, cucumbers and tomatoes.
The "beef" used in this particular demonstration of rendang is cow. After hearing about and reading too many real life horror stories about the U.S. corn industry, feed lots, and how cattle are made mortally ill by what we make them eat, I have given up consuming commercially-produced beef. This is not easy; I love beef.

I have no problem with, no guilt about, the fact that animals have to die for me to be a dedicated omnivore. I do have trouble, however, with the idea that the animal I'm eating was abused and tortured before ending up on my plate. Cruelty is not palatable. Nor is it necessary. As Temple Grandin says, "Nature is cruel, but we don't have to be."

For this day's recipe, I managed to acquire the meat of a retired, grass-fed, free-range dairy cow who was treated well all her life. In celebration of her life and ours, I offer the following:

Happy Cow Rendang

I can't speak to the authenticity of my recipe, since I developed it over a number of years in an information vacuum (this was back in the '80s, before Internet food blogs from around the world) and without easy access to key ingredients. When I lived in eastern Washington, in fact, I had to have one of my sisters ship coconut milk, lemongrass and kaffir lime leaves from her home in San Francisco.  My mom would also send me ingredients, when she could find them for herself, from her home near Chicago. My willingness to hassle family members for ingredients, and sacrifice to raise the money for the shipping costs when I was dirt poor, is testimony to my love of this dish.

As I was developing this recipe, all I had to go on was a series of memories--memories of eating rendang at weddings and at neighbors' and friends' homes during Hari Raya Puasa (the end of the Muslim fasting month of Ramadan) and memories of standing over a steaming kuali (a.k.a. 'wok'), stirring and stirring a rich meat and coconut milk stew under the guidance of our cook in Kampung Baru when I was all of six or seven. 
Dried red chillis (these are Chile de Arbol) in hot water. I was halfway through snipping these chillis into small pieces with my kitchen shears before I remembered to take a picture, which is why some of the chillis are whole and some are not.)
  • 3 lbs. stewing beef, cubed
  • 3 tablespoons peanut or canola oil (or coconut oil, if you can find it)
  • large yellow onion, diced
  • 2-inches ginger root, peeled and minced
  • 8 or so garlic cloves, crushed
  • 4 stalks of lemongrass, cut into short segments (if not available in your product section, these are available from online Asian groceries)
  • 6-8 kaffir lime leaves (if not available in your product section, these are available from online Asian groceries)
  • 2-3 star anise
  • 2 sticks cinnamon
  • 3 tablespoons ground coriander
  • 2 tablespoons ground cumin
  • 1/2 teaspoon ground clove
  • 1/2 teaspoon ground nutmeg
  • 6 dried red chillies (Chile de Arbol, dried Cayenne and Thai chillies are easiest to find in the American midwest), seeds removed, reconstituted in 1/2 cup of boiling water; cut into small pieces. [This made a medium-spicy rendang. Add more if you prefer more heat.]
  • 2+ cans unsweetened coconut milk
  • 1 cup dessicated coconut, toasted (For me, dessicated coconut has always been the hardest ingredient to find. Do not use the sweet shredded coconut that we use in the U.S. for cookies, cakes and other desserts. What you want here is unsweetened, dried coconut meat with no additives. My supplier is the bulk foods aisle at Whole Foods in Cleveland, about an hour's drive away.)
  • salt to taste (DO NOT ADD until after coconut milk has boiled down)

1.  In a heavy dutch oven, brown the beef in oil in small batches. Do not crowd the pan, or the meat will steam rather than brown. Set the browned meat aside.

2.  Into the hot pan, toss the diced onion, ginger root and garlic. Stir fry until the onion pieces are translucent and soft, about 10 minutes.

3. Add the lemongrass, kaffir lime leaves, star anise, cinnamon sticks, and ground spices. Stir fry another few minutes, until the spices start to release their fragrance.

4. Add the coconut milk and deglaze the pan (that is, scrape all those bits of meat and onion from the bottom of the pan). Add the meat back into the pan, along with the chilli pieces and their water.

5. Bring this beige-ugly stew to a boil, then turn the heat down to very, very low. Cover the pan with a heavy lid and allow to slow stew for at least 2 or 3 hours. You can add more coconut milk, if you need to. As time goes on, an astounding, heavenly aroma will begin to fill your house. [Note: The more authentic way to cook rendang is in an open wok over a low flame, adding more coconut milk as it boils away. However, because coconut milk is expensive and sometimes hard to find in Ohio, I prefer to put a lid on the pot to slow down the evaporation of the coconut milk, at least until the meat is very tender. An added advantage to the closed-pot method is that, in the end, there are fewer calories in the final dish because there is less coconut oil.]
6.  Toast the dessicated coconut in a dry pan until deep brown. Be careful. The coconut will not seem to be toasting for quite a while; then, suddenly, it will go golden and brown fast. I usually turn off the heat when the  coconut is golden and allow the residual heat of the pan to finish the toasting.
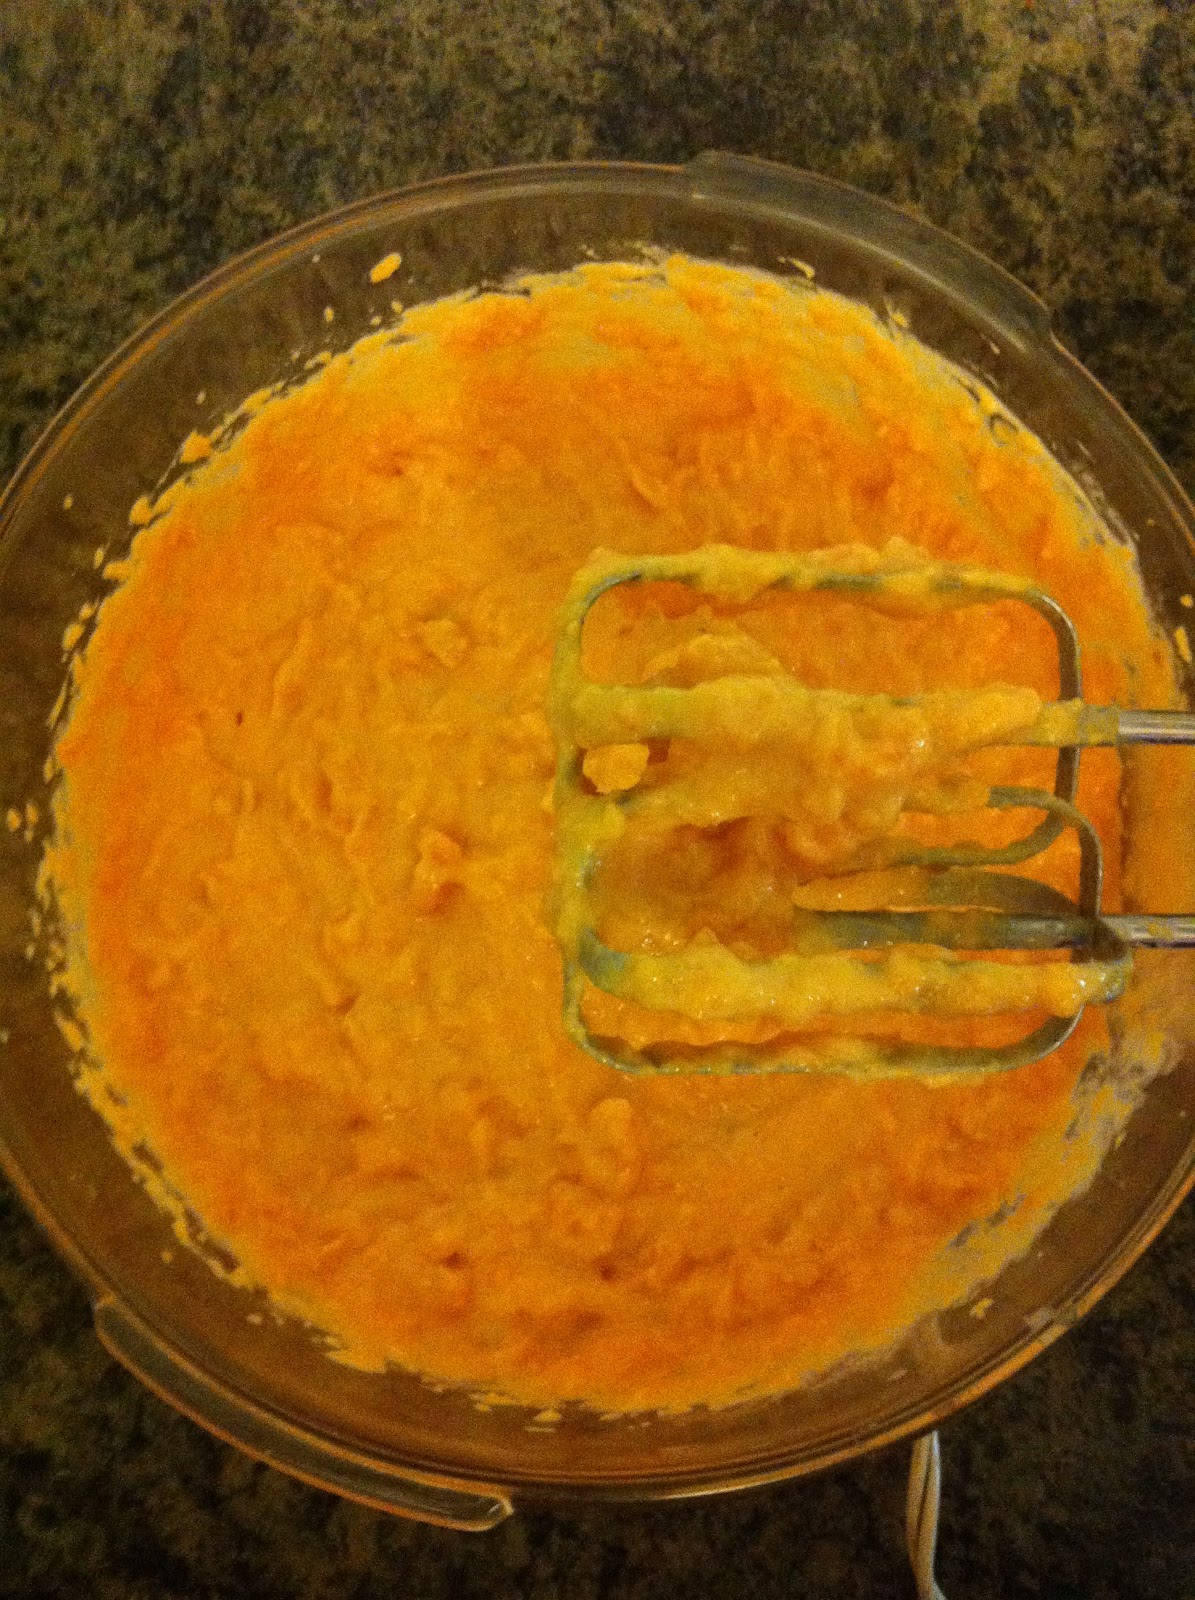
7. When the beef is very, very tender (or even falling apart), it's time to reduce the braising sauce  to a paste. Turn up the heat and keep stirring as the liquid boils away. Stir and stir and stir. It is vitally important to keep stirring, as the thickening concoction will tend to scorch and burn. When most of the liquid is gone, you can add some salt, to taste.

8. As you stir, remove those hard-to-chew aromatics--the lemongrass, lime leaves, cinnamon sticks and star anise pieces. These you can throw away or compost.

9. When the sauce is very, very thick, add the toasted coconut and keep stirring. Eventually, the rendang sauce will start to pull away from the pan and stick to the meat. This means it's done! Turn off the heat.

Makes 12 to 16 servings. Traditionally served over steamed rice or with roti, Malay flat bread. Fortunately, rendang freezes well, so I will be setting aside a good portion for Ground Hog Day (my birthday).

Below is a one-handed video of steps 6, 7 and 8 combined. (My first cooking video! My apologies for mumbling. I spoke as if I was talking to myself instead of to you, my audience. I'll try to do better next time.)

18 June 2011

See-Through Food, Part 2: Easy Rice Paper Wraps

You can put just about anything (that is not wet or soggy) in a rice paper wrap. My favorite things to wrap are salad ingredients, blanched or roasted vegetables, fresh herbs and pieces of cooked seafood or chicken. I've had rice paper wraps in Seattle that contained glass noodles and ones that contained rice noodles. Both were wonderful, but because I tend to use these as a salad substitute, I have never made them with a noodle filling.

For today's wraps, I used baby lettuce greens, finely shredded cabbage, basil leaves, blanched snow peas, and poached and chilled 16-20 count shrimp.

Rice paper is made from rice starch, tapioca starch, water and salt. They come in several sizes, but I prefer the big ones that are 8 1/2 inches across and easier to handle than the smaller ones.


The sheets are very thin and brittle, so when you are buying them, check the package carefully so that you do not end up with a package of shattered sheets, which are almost impossible to work with.

To make the sheets pliable enough to bend and manipulate, you will need to dip them in water. The following directions for using rice paper are a little different than the other directions I've seen, including the ones on the rice paper package. I'll explain as I go along.
 
Half fill a pie plate or quiche pan (large enough hold a rice paper sheet) with room-temperature water. (I do not use hot water because I find that the sheets become too soggy too quickly.)

Place a sheet of rice paper in the water and push it down to the bottom of the plate or pan, then lift it out immediately. (I do not leave the rice paper in the water for any real time because, once again, it will become too water-logged and tear more easily while I'm working with it.)

Lay the water-dipped sheet on a clean, dry work surface, like a cutting board or counter top. (I don't use a dish cloth, as some people suggest, because one time I ended up with bits of cotton lint stuck to the outsides of my wraps...ugh!) A wooden work surface, I find, works best.


Keeping in mind that this is a see-through food, start layering your ingredients across the near edge of the rice paper sheet, leaving room at the sides so that you can later fold the ends in. I put the shrimp (split in half the long way with their pink side out) on the bottom of the pile or on the top, so that they will be easily seen once the wrap is done.

When you first start working, the sheet will still be a bit stiff, but don't worry about it. Within a minute or two--about the time it takes for you to layer on your wrap's filling ingredients--the sheet will become very pliable and a bit stretchy.


Wrap the rice paper around your ingredients as you would a burrito or egg roll. Wrap as tightly as you can without tearing the paper.

Wipe the moisture off your work surface before starting to construct your next wrap.

I like a very light Thai-style dipping sauce for these, although I have also enjoyed them with a simple vinaigrette. These wraps were served (to me by me) with a dipping sauce made of equal parts lime juice, fish sauce and water, with a splash of Thai Sriracha hot sauce. Yum!

See-Through Food, Part 1: Glass Noodle Soup


Glass noodles (a.k.a. "cellophane noodles" or "bean thread noodles") are made from water and mung beans. (Sprouted mung beans are what we call bean sprouts, commonly used in Chinese stir-fries.)
Dried cellophane noodles and dried mung beans.

This take on Vietnamese glass noodle soup is another easy meal for one or two. It requires a bit of prep (cutting up veggies and soaking noodles) but, all-in-all, it's not very time consuming or difficult to make.
Start by choosing two or three vegetable for your soup. Keep it light and uncomplicated, in keeping with the Asian theme. Today I chose two veggies for my soup: fresh shitake mushrooms and broccolini. You'll also need a few other ingredients for this soup. Here's the entire list:
  • 1.5 oz. glass noodles (also called bean thread noodles, cellophane noodles, or mung bean noodles), reconstituted in boiling water, then drained
  • 2 cups water
  • 1 teaspoon bouillon paste or cube (chicken or veggie work best)
  • 1 large clove garlic, thinly sliced
  • 1 piece of ginger root (about the same size as the garlic clove)
  • 1 dried chilli (optional)
  • handful of fresh mushrooms, sliced
  • handful or two fresh vegetables (snow peas are good, as is savoy cabbage, broccoli, bean sprouts, or whatever you like), cut into bite-size pieces
  • 2 to 4 oz. shrimp or fish or shredded cooked chicken or tofu can also be added, though I tend to prefer a meatless (except of the broth) glass noodle soup 
  • juice of 1 lime
  • 1 tablespoon Vietnamese or Thai fish sauce
Prep

Put the dry noodle in a bowl and cover with boiling water. Let them set for 10 minutes or until the water cools down significantly and the noodles are clear. Drain the water off the noodles and set the noodles aside.
Cover noodles with hot water.

After 5 minutes, noodles are pliable but not clear.

Clear glass noodles.

Noodles are ready to drain and use.
Reconstituted and drained glass noodles at the bottom of my soup bowl awaiting the rest of the soup.
While the noodles are reconstituting, prep your veggies.

Thinly slice the garlic and cut the ginger root into tiny little shreds. Clean your vegetables and cut them into bite-size pieces.

Get Cooking:
Heat 2 cups of water in a medium soup pan. When it comes to a boil, add the bouillon base, garlic and ginger pieces, and whole chilli (if using). Simmer for 2 minutes or so, then start adding the vegetables (and seafood or meat, if using). Continue to simmer for another 3 to 5 minutes, until the vegetables are crisp-tender or cooked to your liking.

Turn off the heat and add the fish sauce and lime juice.  Remove and discard the chilli pepper (unless you need to use it in a food porn photograph like the one below). Pour the soup over the glass noodles, stir, and enjoy.

11 June 2011

Blackened Salmon on My Salad (an easy meal for one)

We had a streak of brutally hot and humid weather this past week. When it gets muggy like that, the last place I want to be is in my kitchen. Fortunately, I have a few summer tricks for keeping cool and eating well, one of which I indulged in last Thursday after work:

Blackened Salmon on My Salad

First, I tossed together romaine lettuce, green onions and ripe roma tomatoes for a simple salad that I topped with my favorite salad dressing (chunky blue cheese).

Next, I took a skinless salmon fillet (this one was wild Copper River salmon from Alaska, but I have also used frozen salmon [thawed, of course] with great results), rinsed it in running water and patted it dry. Then I sprinkled both sides with blackening spices (cayenne, smoked paprika, thyme, white pepper, cracked black pepper, salt) and fried it in a bit of canola oil; about 2 minutes per side.

Last, I plopped that beauty right on top of my salad, poured myself an icy drink, and relaxed in front of the oscillating fan. It was an all-around "win": the stove was on for less than 5 minutes; I was in the kitchen for less than 15; and I still ended up with a great meal!

This is cool food for hot weather.

04 June 2011

Soft Shell Crab, Pan Fried

I've read about them plenty, but I've never eaten soft shell crab before. Never even seen one before today. The idea that a crab shell could be so thin that you can eat the whole thing, beast and its shell and all, is intriguing.

When I expressed my surprise at seeing them at the Poland Giant Eagle, the guy behind the seafood counter was non-responsive. I asked him if soft shell crabs were a seasonal item. He shrugged. I foolishly asked him a few more questions and got no more than a shrug and a grunt in response. In fact, he acted every bit like a teenaged boy who'd never cooked anything in his life and really didn't give a hoot about his crappy job either. The only problem was, he looked to be about my father's age.

I asked for 2 soft shell crabs, despite their small size and exorbitant price ($3.99 each) and tried to explain to him, as he struggled with the scale and automated pricing and labeling software, that they were not $3.99 a pound, but $3.99 each. He would not listen to me.

I finally said, "Forget it. What I really came for is the Copper River salmon and the 40-count shrimp."

No response.

He continued to struggle with the scale, muttering under his breath. Eventually, a woman from the meat counter came over to see why a customer was getting so agitated. She ended up commandeering the scale, physically pushing the guy aside, in order to print the label and the price. Unfortunately, once she was done, she walked away.

The seafood guy then turned to me, smiled and said, "Anything else?"

I couldn't get home fast enough.

After a quick search of the Internet for recipes, I ended up doing something completely different. I took 1/2 cup of masa harina (fine corn flour) and added cajun spices--thyme, cayenne, white and black peppper, a bit of cumin, and some salt--and dredging the two crabs in them.
I then fried them up in a few tablespoons of canola oil, 3 to 4 minutes on a side.

Before I started fussing with the crabs, however, I threw some potato wedges, drizzled with olive oil, into the oven for 45 minutes at 375 degrees, and made up a small batch of lemon garlic aioli (mayo mixed with lemon juice and garlic).

Within an hour, I was dining very unexpectedly on something I'd never had before.
I'd like to report that the meal was perfect, near to heaven, but I was distracted by the texture of the paper-thin shells which were...well...the texture and consistency of pan-fried printer paper. Some pieces, I simply couldn't chew through at all. I ended up sucking out the meat, chewing the juice from the shells, then spitting them out like spit wads.

The meat was delicious, though, and the meal was more than passing good. I'll definitely try soft shell crabs again, should I ever encounter them. Next time, I'll try putting more heat on them, to make those shells seriously more crunchy.